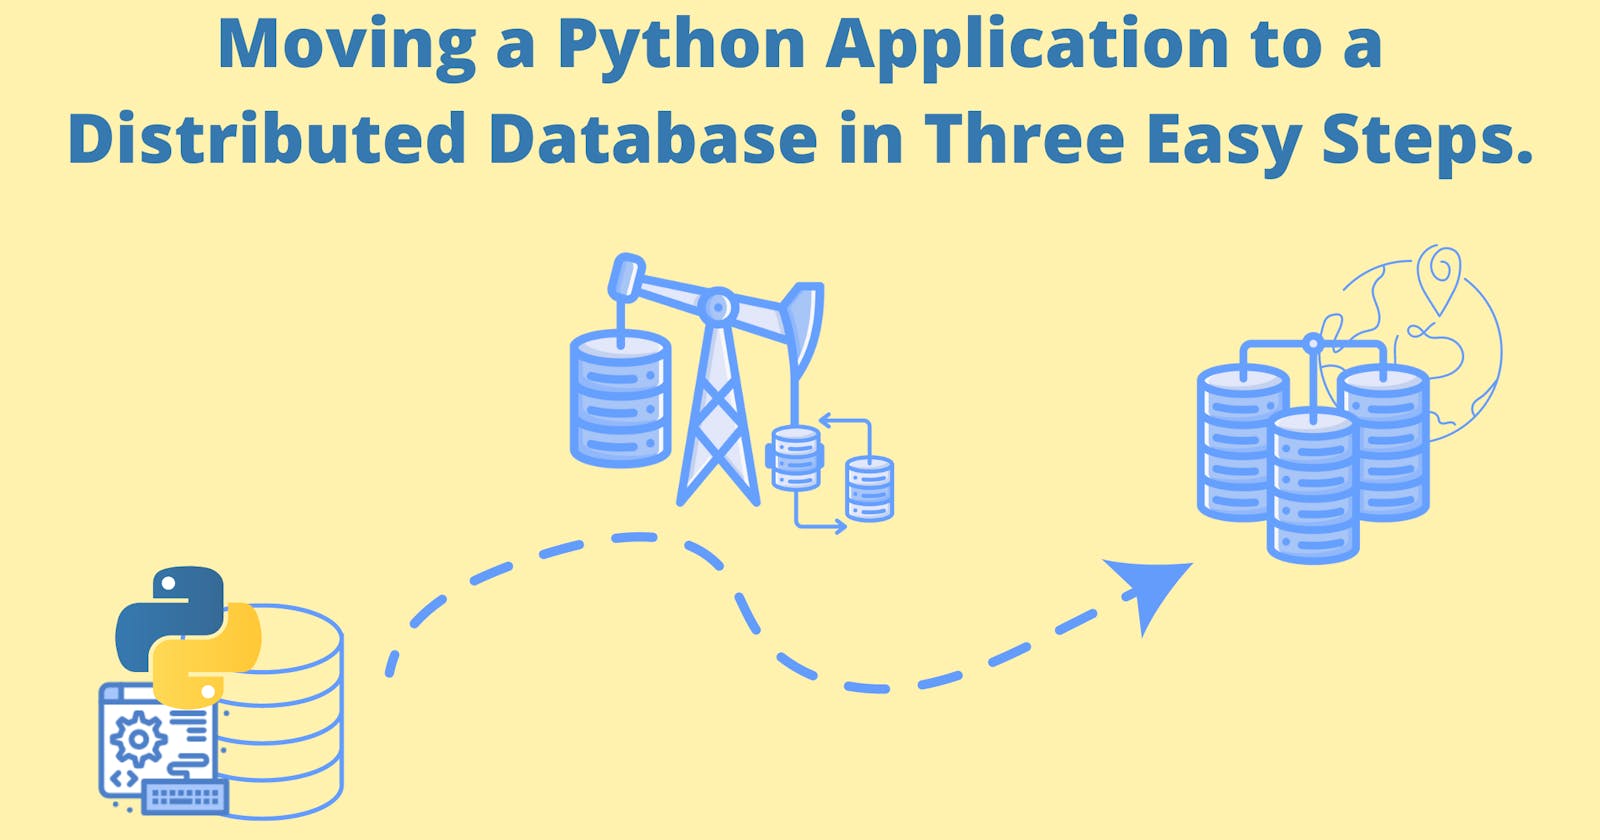
Moving a Python Application to a Distributed Database in Three Easy Steps.
I have been writing APIs and small services in Python (mostly with SQL-based databases) for quite some time now. As developers, we don’t pay too much attention to database performance and scalability unless our application faces real performance issues - like slow reading, writing of data, bulk requests, etc.
But, when we see our application receiving more requests than usual we start to panic about keep performance high and ensuring the application remains available under the increased load.
To solve this problem, we tend to default to increasing the compute power in the system (horizontal or vertical scaling) to handle more requests, but we forget that the data storage layer also has a huge impact on application performance.
Since traditional SQL databases are single node (or based on primary-secondary node architecture), not all these issues can be fixed by adding more storage or computing power.
Scaling databases is a tedious task as there are many factors and methods to address, such as data replication, sharding, caching, and transactions. These all need to be considered before scaling the database, as the data needs to be consistent and available across the application. You may even need to rewrite some of the services (change the codebase) to support this database scaling.
However, all the above-discussed issues can be solved by using a distributed SQL database.
Moving your existing application to a distributed database
Using a distributed SQL database seems like a single-shot solution and exciting to use, but I started to think about how hard it might be to move the existing application without changing the business logic.
First, I needed a database that worked with both an existing and modern application architecture (cloud-native) and could solve performance and scalability issues.
YugabyteDB is an ideal choice here as it is an open-source, PostgreSQL compatible distributed SQL database. (If you want to know more about how and why to use YugabyteDB, you can check out this amazing playlist on YouTube).
I have used the JobBoard application for this experiment. This is a web application for Job posting. You can create, update and delete job posts and it also supports the feature of user registration & authentication. It is built using the FastAPI framework with PostgreSQL and SQLite DB support and is a popular project for FastAPI learning. You can check out this video to discover more about the overall application use.
Now that we have decided on the distributed SQL database to use, let’s see it in action as we migrate using the following steps.
Step 1: Start a multi-zone YugabyteDB managed cluster
YugabyteDB provides a fully-managed cloud offering that supports AWS and GCP platforms. I am using YugabyteDB Managed here to create a multi-zone cluster.
This offering feature matters a lot for me as a developer, because all I want is to quickly launch a database instance and focus more on my application logic.
Bonus: YugabyteDB Managed offers a free tier for developers, without asking for payment details.
After setting up a YugabyteDB Managed account, I was able to create and launch a multi-zone cluster quickly. The experience was seamless and fast.


You can follow these instructions to create a cluster on the cloud. If you wish to do a manual cluster setup you can start the cluster locally.
Step 2: Change Database Connectivity Settings in the App
One of the best parts is that YugabyteDB is compatible with PostgreSQL and works smoothly with existing Python frameworks, drivers, and ORMs, such as Django, psycopg, and SQLAlchemy, etc. This means you don’t need extra lines of code to support the database. The logic to connect the database is the same as for PostgreSQL, or any another relational database.
Next, I downloaded the CA certificate from the cluster and added my machine’s public IP address to the cluster IP allow list. This is required to communicate and access the cluster. So, we have set up the distributed database cluster, now it's time to connect the application with the database.
Let’s quickly set up the application with the database connection details.
Clone the repo and install the requirements for the application:
git clone https://github.com/nofoobar/JobBoard-Fastapi.git && cd JobBoard-FastapiInstall the app requirements:
pip install -r requirements.txtAdd/update the
.envfile in the project directory for the database configuration, as shown below.POSTGRES_PASSWORD=your_downloaded_db_password POSTGRES_SERVER=cluster_host_ip POSTGRES_PORT=5433 POSTGRES_DB=yugabyte SECRET_KEY=supersecretkeyhere!! USE_SQLITE_DB=False
Step 3: Start The App
As the database connectivity parameters are now added to the application, let's start the application.
Run command:
uvicorn main:app --reloadto run the application and visit http://127.0.0.1:8000Perform the operation of registering the user, creating and deleting job posts, etc. You will see the values reflected in the database - you can also see the tables created by the application under your cluster page.


Let’s see some application data by querying the database. You can directly connect to your database from Cloud Shell on the cluster page.

And, run a simple query that returns the newly added records:

Closing Thoughts
Migrating your database can seem like a dreadful and tedious task, but you can now see how easy it is to move your existing application to YugabyteDB, and benefit from the features of a distributed SQL database.
In just three quick steps, I migrated an existing PostgreSQL application to a distributed YugabyteDB instance. And you know what’s cool about distributed databases like YugabyteDB? These databases are modular by design and can be easily extended on-demand. This means I can easily scale the database horizontally without interruption or maintenance downtime when the load increases again.
